
BitBucket Tutorial
Last updated on 19th Sep 2020, Blog, Tutorials, Version Control
Bitbucket is a web-based version control repository hosting service owned by Atlassian, for source code and development projects that use either Mercurial (from launch until 1 July 2020) or Git (since October 2011) revision control systems.
Bitbucket is available in 3 options:
- Bitbucket Server: For on-premise deployment.
- Bitbucket Cloud: Hosted on Atlassian servers.
- Bitbucket Data Center: For enterprise-wide deployment for high availability and better performance.
Bitbucket Usage
- Creating a project.
- Creating a repository.
- Using Git commands to clone, commit, push source code, etc.
- Creating branches and merging.
- Pull request for code review.
- Delete Repository.
- Integrate with Jira to maintain traceability with issues.
How To Use Bitbucket?
To start with version controlling project related artifacts in Bitbucket, we need to create a project which will then group multiple Git repositories. These repositories will then be worked upon by the project teams based on the access.
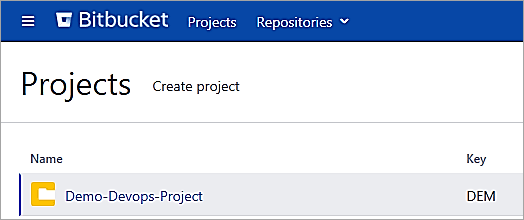
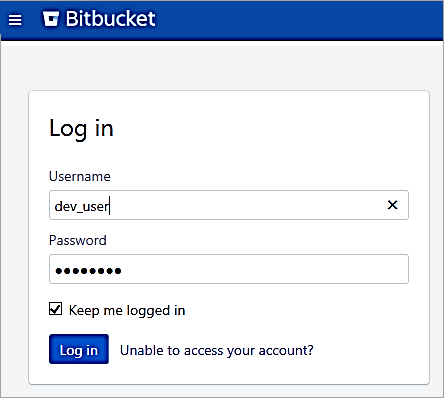
Log in to Bitbucket using the URL Atlassian Bitbucket and click on Projects -> Create Project.
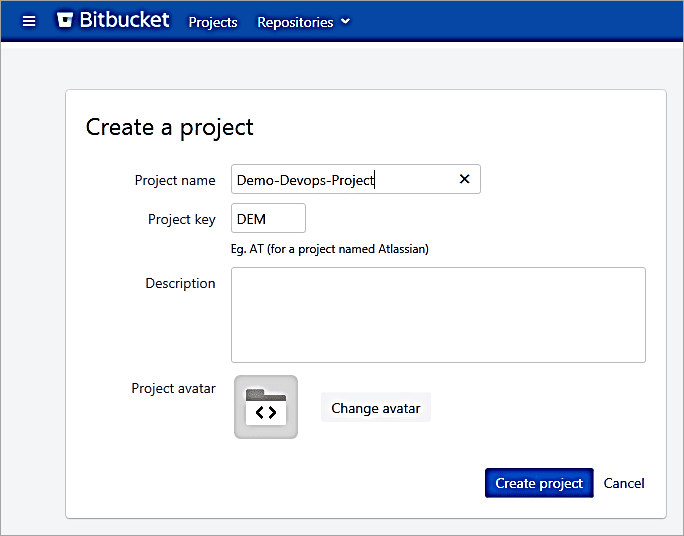
Click on Create Project.
The project is created. Open the project and click on + to create a Git repository.
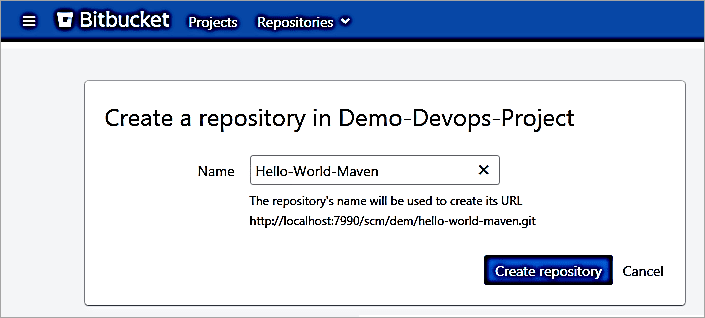
Click on Create repository. As the repository is created follow the instructions to clone the Git repository to the local machine. It is best to save the instructions as the steps would be required for every developer who would be working on the repository.
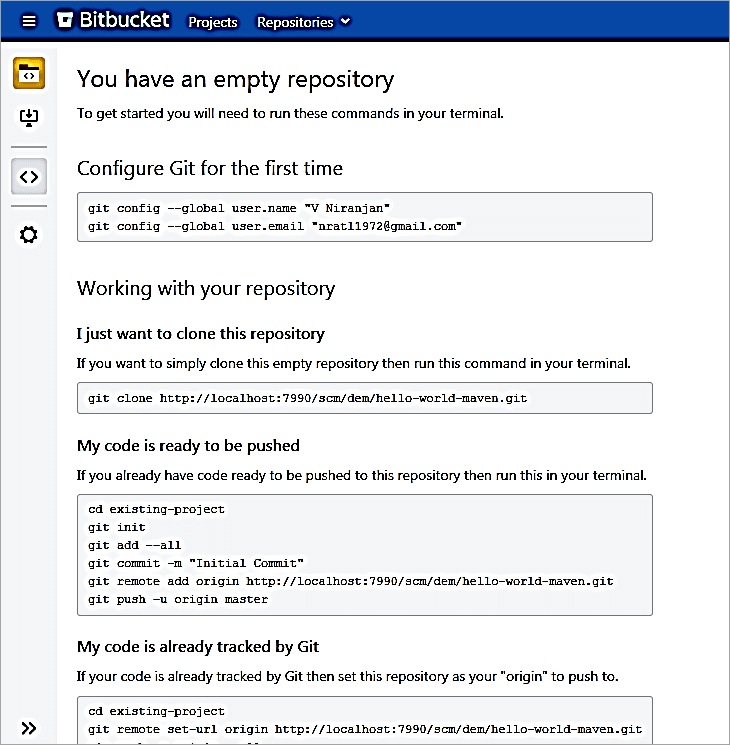
Follow the instructions as listed to clone any repository in the Bitbucket project to the local machine wherein the developers would make changes and commit to the repository along with the push.
Subscribe For Free Demo
Error: Contact form not found.
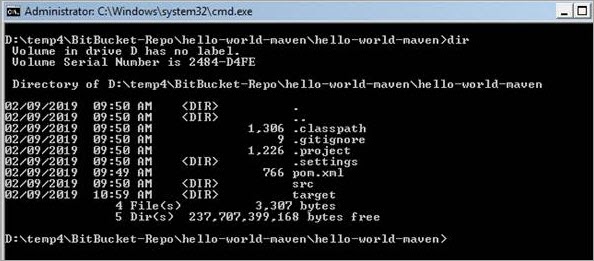
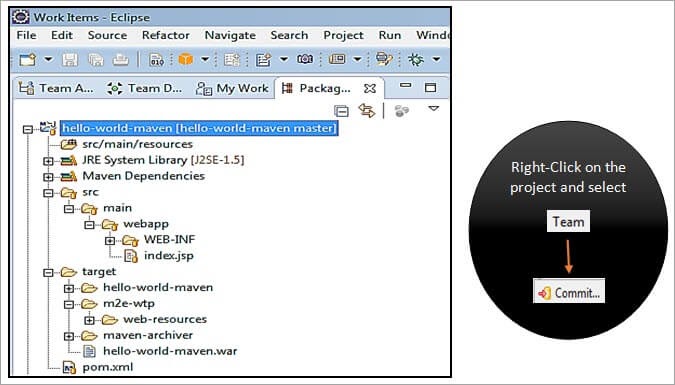
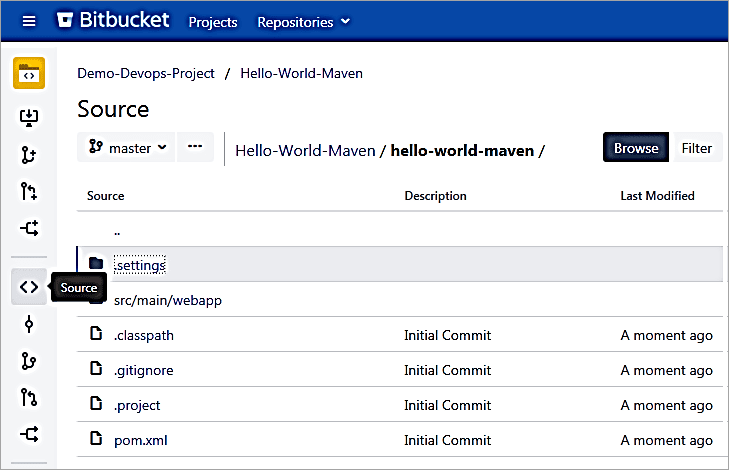
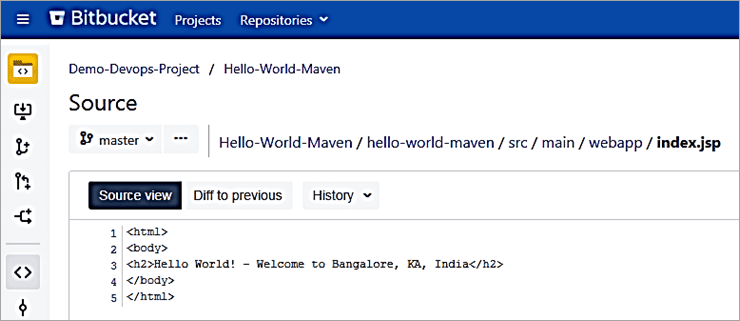
Once the repository is cloned, add files to the repository. E.g. I have created a J2EE Maven project, committed and pushed the same back to the Bitbucket repository.
To edit any file online open the file and click on Edit. For Example, open the file index.jsp and make a change.
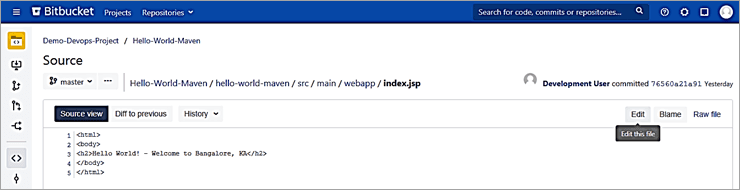
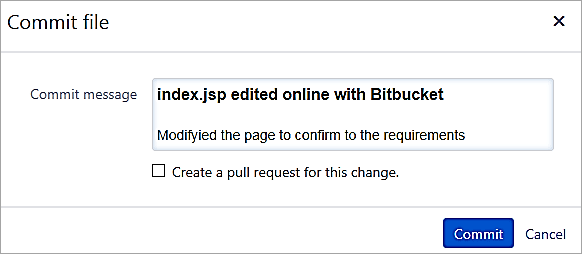
Make a change and click on Commit.

Enter the message and click on Commit.
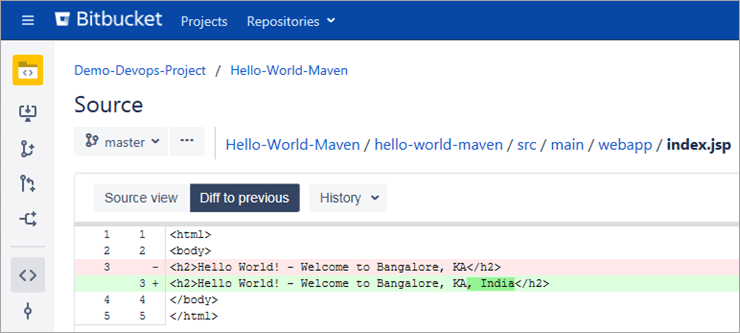
Click on History to view all the changes done to the file.

Click on Diff to previous to compare the changes with the previous version.
Creating Pull Requests
Most of the times when a release is done, the defects are reported or enhancements are suggested to be incorporated. Hence, when the developers take up the tasks of fixing defects or incorporating enhancements, they need to take feedback from their peers or get it reviewed.
Thus the developers would create a bugfix branch to do the necessary fixes and create a pull request to inform the team members about the defect being fixed and request for a review so that the changes can be merged into the main integration branch or the master branch.

Get Instructor-led Bitbucket Training from MNC Experts
- Instructor-led Sessions
- Real-life Case Studies
- Assignments
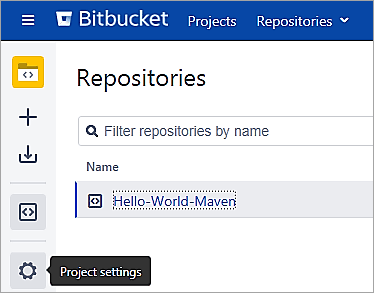
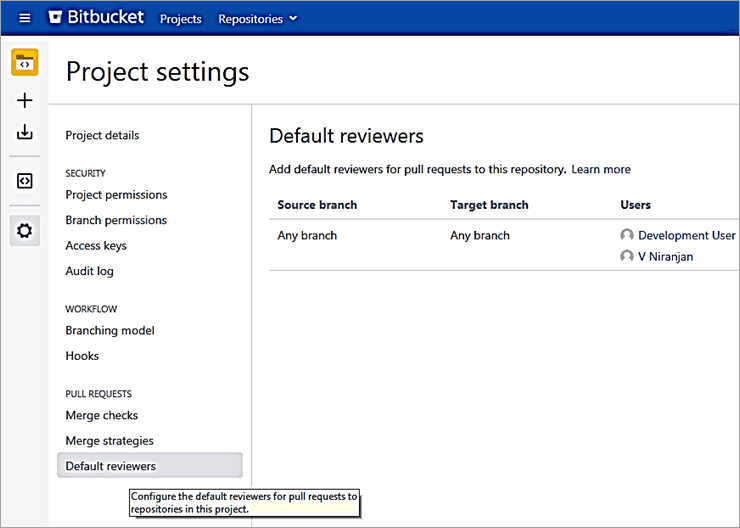
Before creating a pull request, add the default reviewers to the Project Settings. Click on the project and go to the settings.
Add the default reviewers to be added in the Pull Request.
Let’s look at a simple scenario to create a Pull Request:
- A defect has been reported. The developer creates a bugfix branch to do the necessary changes to fix the defect and pushes the changes to the repository.
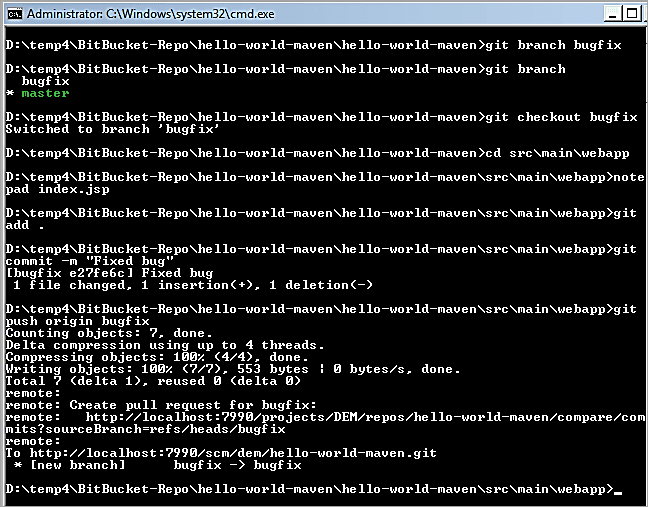
The bugfix branch is now available in the Bitbucket repository.

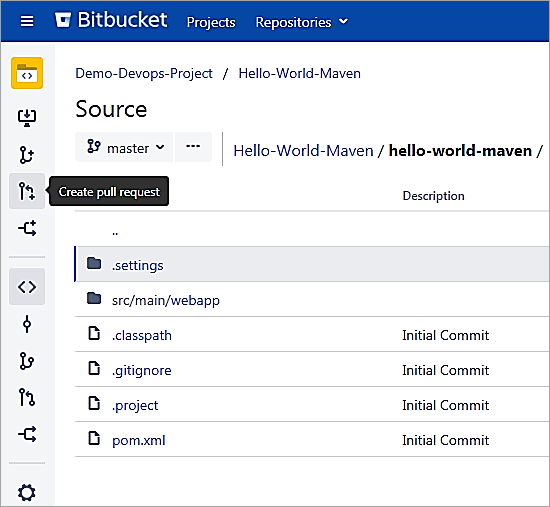
Before the changes are merged to the master branch, the developer would usually create a Pull Request to get the changes reviewed. Click to create a Pull Request in the sidebar.
Select the source branch as a bugfix. Click Continue.
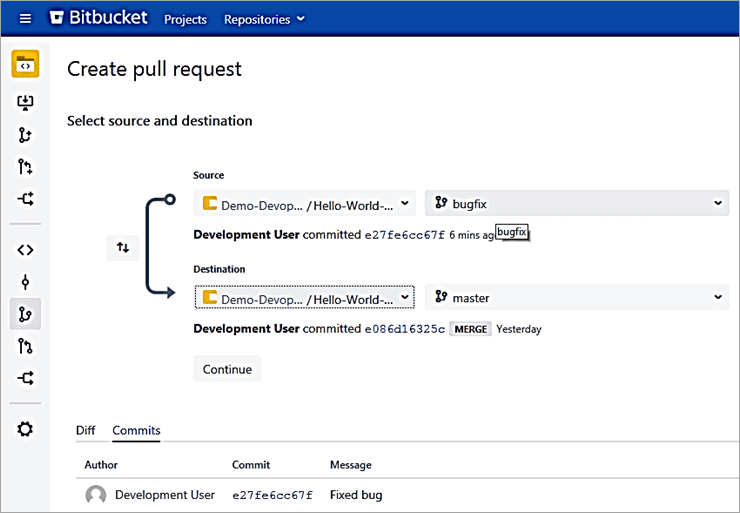
The reviewers assigned is the user added to the default reviewer list in the project settings. Click on Create.

Log in as the user to whom the review is assigned to.
The review assigned is shown in the dashboard. Click on the review item and approve the changes.
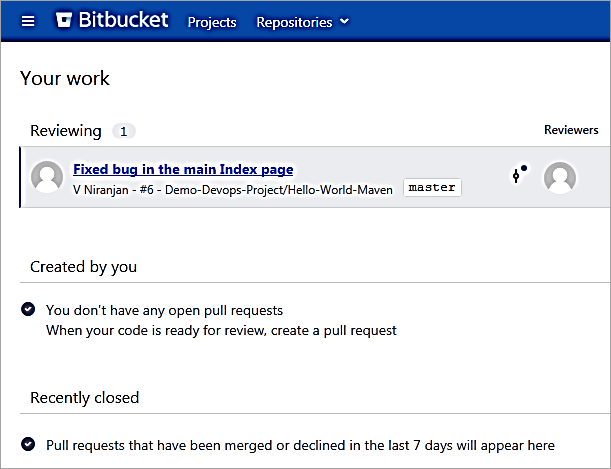
Add a comment in the Activity box and click on Approve
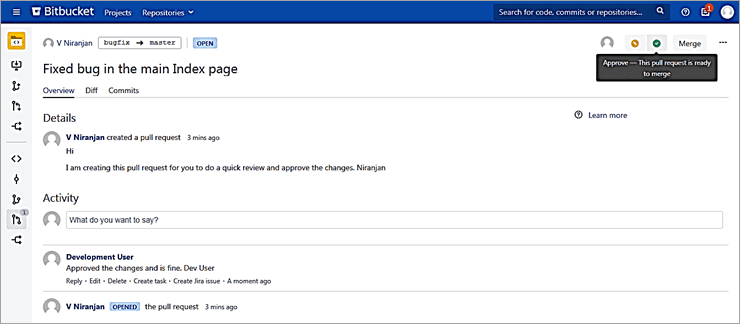
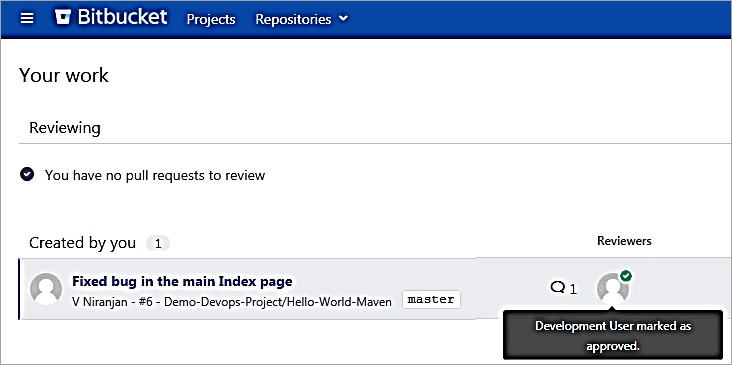
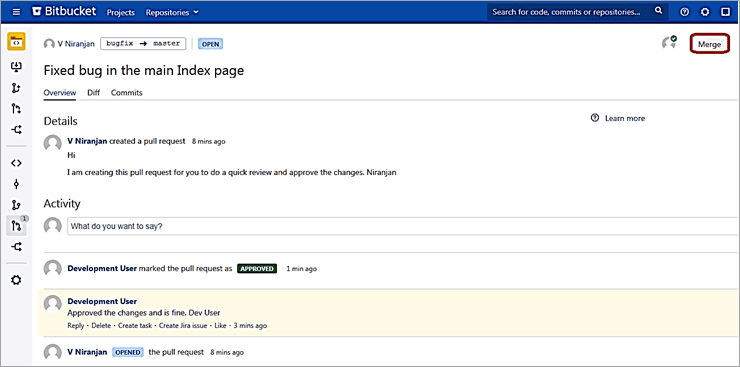
Log in back as the user who created the Pull Request and he will be able to see the status of the review.
Click on the Review item and merge the changes to the master branch.
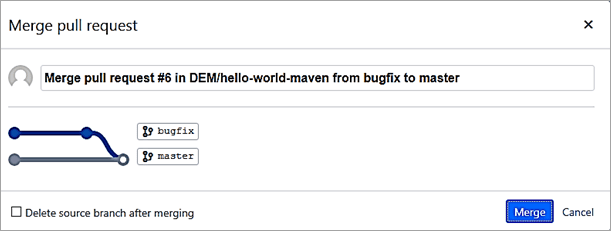
Click on Merge. The changes from the bugfix branch are now merged to the master branch.
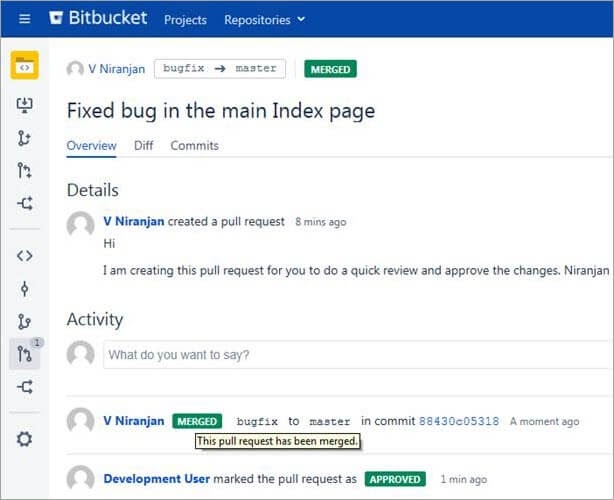
All the developers can then perform a ‘git pull’ command to get the latest changes from the master branch on to their local repository.

Enroll in Bitbucket Course with Intensive Lab Practical By Experts Trainers
Weekday / Weekend BatchesSee Batch DetailsFork Repository
Fork repository in Bitbucket is a way to clone the entire repository for creating a new copy of the repository. The need for this may arise from the fact that you want to experiment changes or perform certain testing on the forked repository without disturbing the original repository.
As the original repository may contain changes, you will also be able to sync the changes to the forked repository. All the access and permissions of the original repository are inherited into the forked repository.
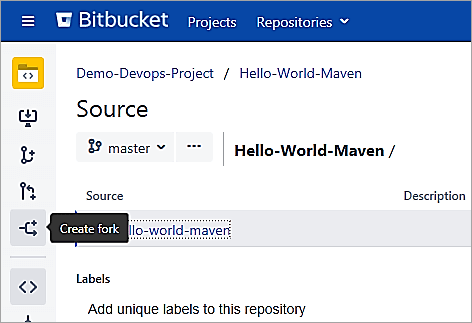
To fork, a repository clicks on the Create Fork option.
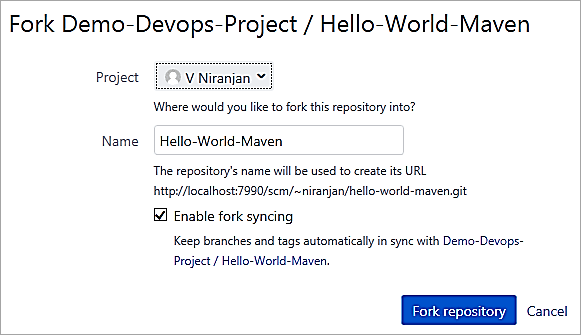
Click on Fork Repository.
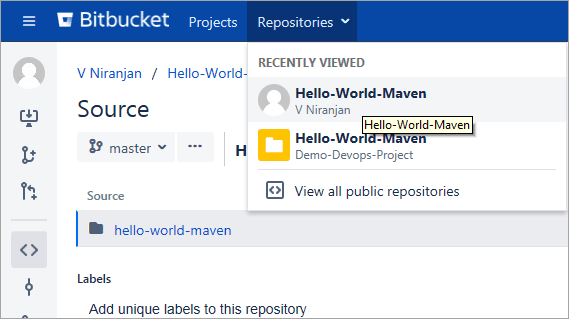
The forked repository is now added and shown. The URL has also changed completely. One can clone the repository and do the necessary experiments with this repository without disturbing the original repository contents.
http://localhost:7990/users/niranjan/repos/hello-world-maven/browse
Any change to the original repository will be replicated in the repository that is forked as the option to enable sync was selected at the time of forking the repository else manual sync would need to be performed.
Bitbucket Markdown
Any project has to maintain certain documentation to have information about the requirements or about releases or any other project related information.
Hence the project team needs to ensure that the documentation is in a well-defined format. Bitbucket uses Markdown to format text to the Readme.md file (md extension is required to use this syntax) or even in the pull request description or comments.
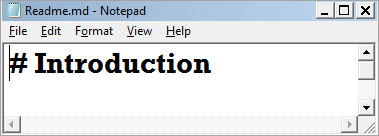
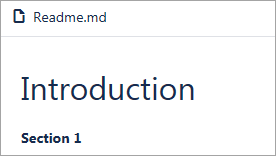
For example, I have created a Readme.md file in the repository and added a few syntax examples as shown.
Example 1:
# Introduction (This is H1)
After adding the syntax, commit the changes to the repository.
In Bitbucket it is seen as follows:
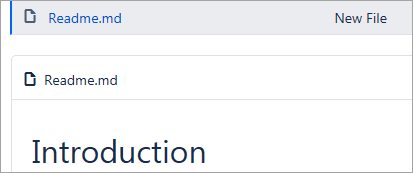
Similarly ## Introduction (This is H2)
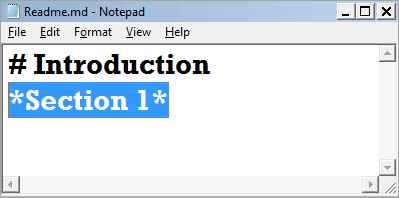
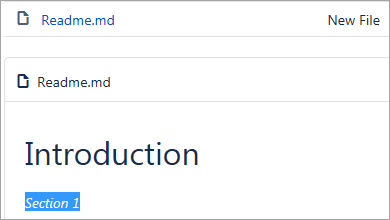
Example 2:
Italics characters – *Section 1*
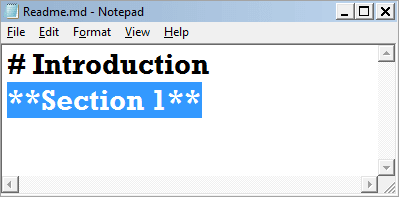
Example 3:
Bold – **Section 1**
More such examples can be found @ Markdown Syntax Guide
Bitbucket Integration With Jira
As we all know, Jira is a tool to plan and track the tasks assigned to the project teams. Usually, teams do work on the tasks assigned to them. So if you look at it from an Agile point of view, the teams work with issues like Epic, Story, Tasks, and Bugs that are assigned to them in Jira.
Now as the development teams do make use of Bitbucket as the source code repository, they need to ensure that any source code changes are traced or linked to the Task/Bug assigned to them to enable transparency of the work done.
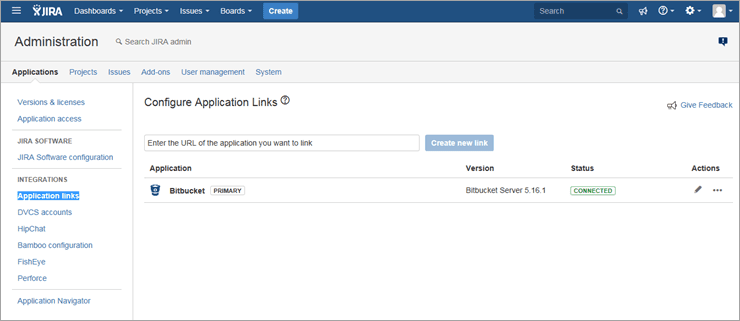
Hence, let’s look at the procedure to integrate Bitbucket with Jira. Log in to Bitbucket as Admin user and go to the Administration -> Application links. Add the URL of Jira which will then add a reciprocal link in Jira as well.
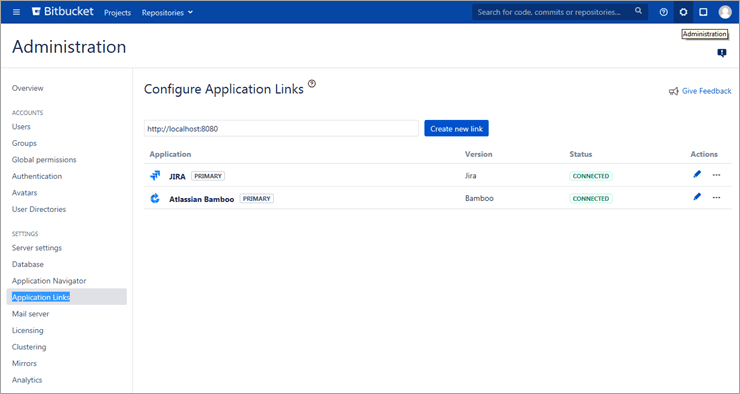
Add the URL and click on Create new Link. A reciprocal link is also created in Jira by which both the tools are now ready to be integrated.
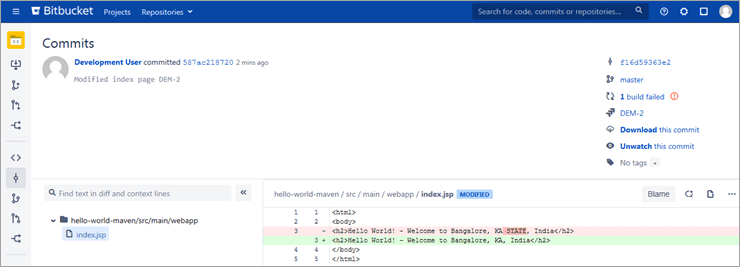
Now perform a code change and commit the code, Push the changes to the repository. While committing the code mention the Jira issue id in the comments as shown in the screenshot.
For example, command – git commit –m “Modified index page DEM-2”.
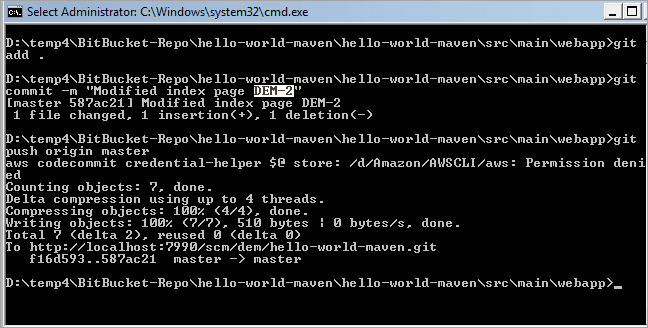
Now, look at the issue in Jira to see the link to the code change under the Development section.
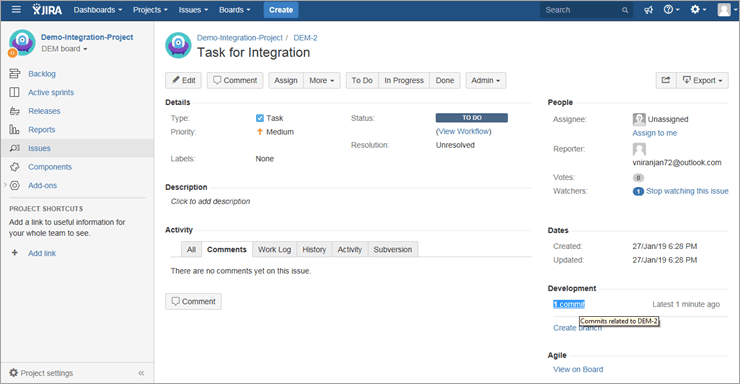

Click on the Commit Id and you should see the changes done.
Delete Repository
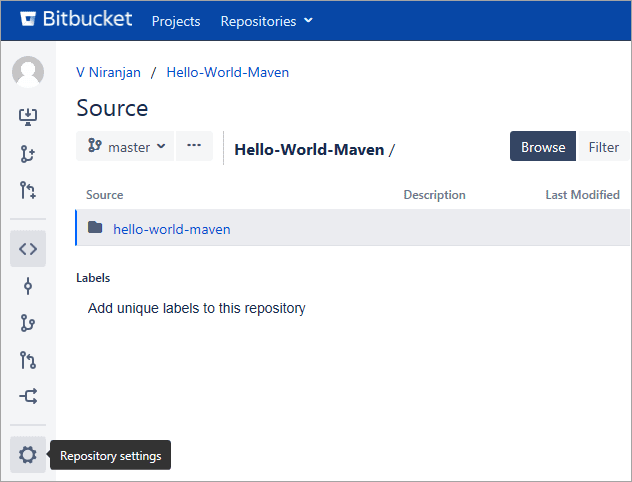
To delete a Bitbucket repository click on the repository to be deleted and go to the Repository settings option.
Click on the button Delete Repository on the right-hand side.
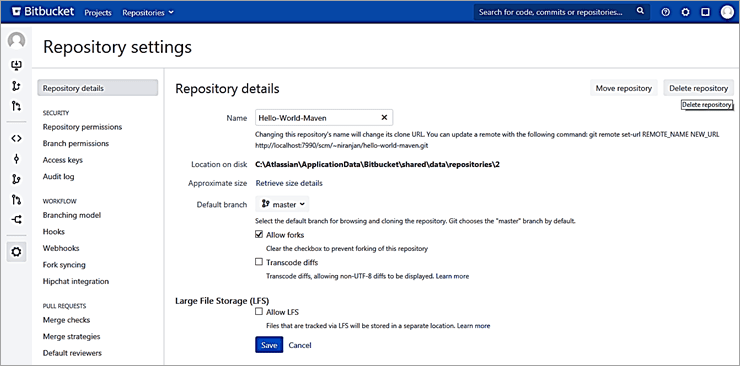
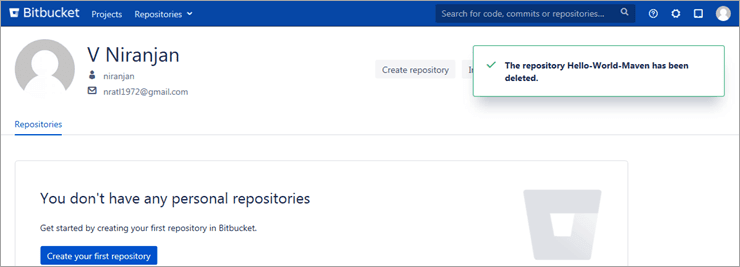
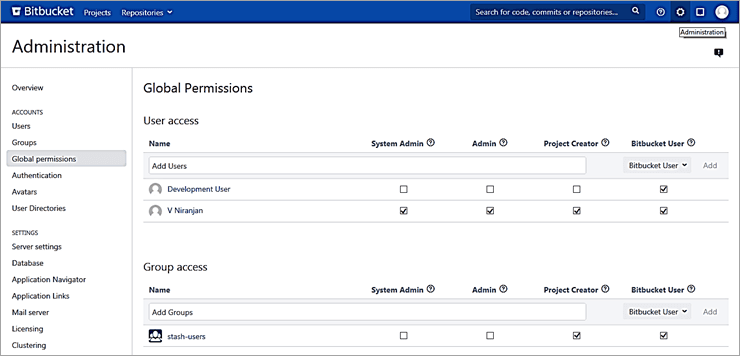
Note: You will need to be a Bitbucket Admin privileges to delete any repository. A normal Bitbucket user will not have the permissions. A Bitbucket Admin can set the user permissions from Settings -> Global Permissions.
Conclusion
In this tutorial, we have seen some of the most common features that are used by the teams while working on a version control repository using Bitbucket. From my experience, I have seen that in most of the DevOps projects Git is the popular repository that is used and Bitbucket is no exception here.
Our upcoming article will focus on extending the Bitbucket repository to use in Atlassian Bamboo tool to perform CI and CD activities.